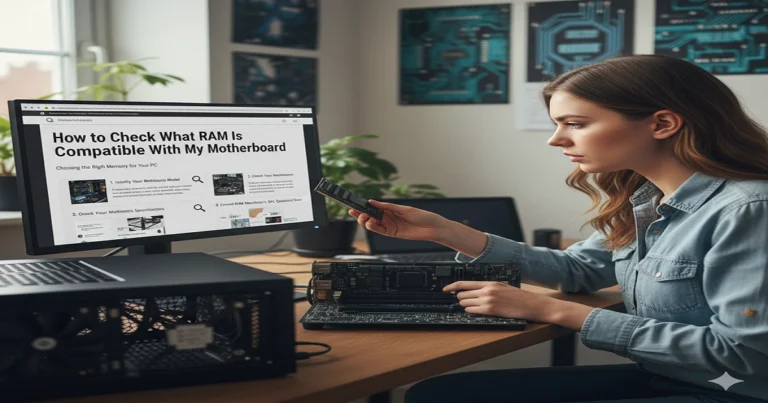
How to Fix Yellow Light on Motherboard – Step-by-Step Troubleshooting Guide
If your motherboard shows a yellow light, it usually means something isn’t right — most often the RAM (memory).
Think of it like a warning light in your house — maybe a loose wire or a water leak. It’s not always a disaster, but it signals that attention is needed.
This guide will teach you why the yellow light appears and how to fix it step by step, even if you’re a beginner PC builder.
What the Yellow Light Means on Your Motherboard
DRAM / Debug Light Explained
- The yellow LED usually points to a problem detected during POST (Power-On Self-Test).
- It tells you which part of the motherboard might have an issue — most commonly RAM.
Difference Between Yellow, Red, and Other LEDs
- Red light: critical hardware failure, usually CPU or motherboard.
- Yellow light: caution, often memory or minor errors.
- Green/white light: everything is fine, PC booting normally.
Why Yellow Light Usually Points to Memory Problems
- RAM sticks not seated properly.
- Incompatible memory modules.
- Memory controller issues on CPU or motherboard.
Common Causes of Yellow Light Issues
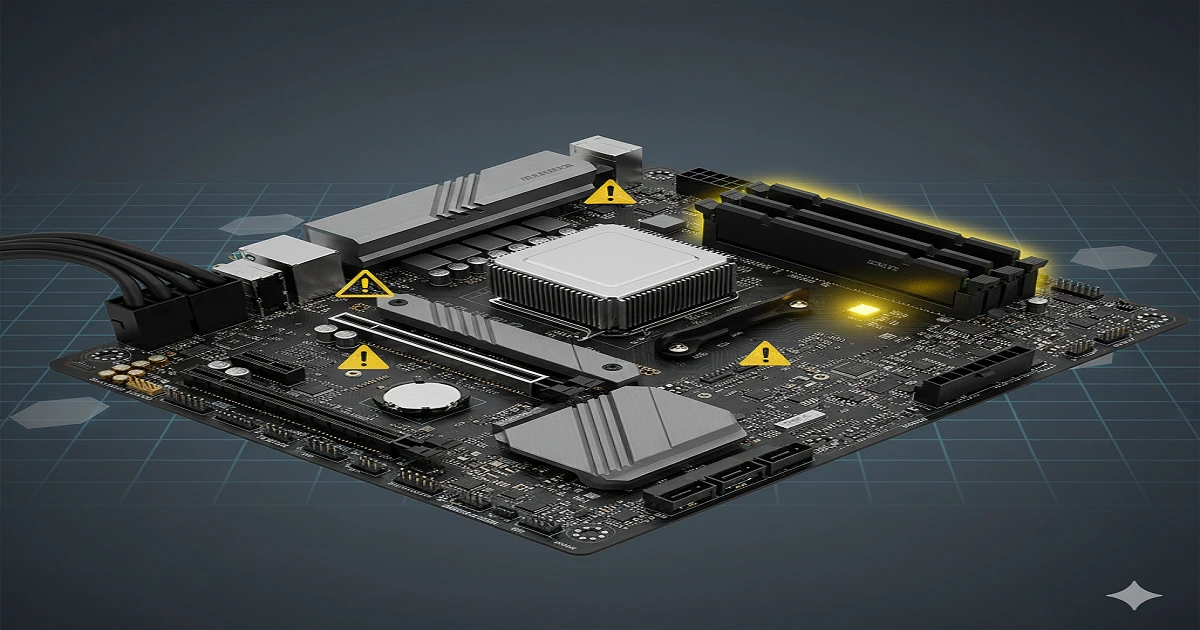
Improperly Seated RAM
- Sometimes a RAM stick is not fully clicked into the slot.
- Dust or debris can prevent proper connection.
🏠 Like plugging a lamp into a wall socket halfway — it won’t turn on.
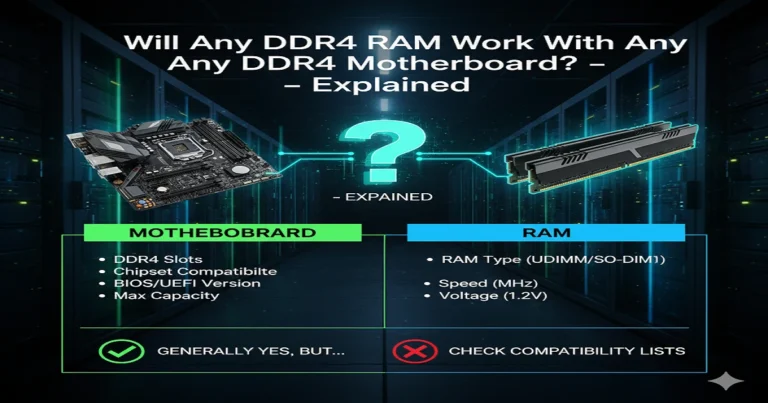
RAM Compatibility Problems
- Using RAM not supported by your motherboard or mixing different brands.
- RAM speed or size exceeding motherboard limits.
BIOS Settings / Outdated Firmware
- BIOS may not detect RAM correctly.
- Older firmware might need an update to support newer RAM.
Power Supply and Peripheral Issues
- PSU not delivering enough power to RAM.
- Loose or damaged power cables can trigger the yellow light.
Step-by-Step Fixes for Yellow Light Problems
Reseating RAM Confidently
- Power off the PC.
- Remove each RAM stick and reinsert firmly.
- Ensure the clips click on both sides.
Testing One RAM Stick at a Time
- Insert one stick into the recommended slot.
- Power on the PC to see if the yellow light disappears.
- This isolates faulty modules.
Clearing CMOS and Resetting BIOS
- Turn off PC and remove the CMOS battery for 5 minutes, or use the jumper.
- Resets BIOS to default settings.
Updating BIOS or Using BIOS Flashback
- Download the official BIOS update from the motherboard website.
- Use USB flashback or BIOS update tool.
- Follow instructions carefully — wrong BIOS update can damage the board.
Advanced Troubleshooting (When Simple Fixes Don’t Work)
Sometimes, reseating RAM or clearing BIOS isn’t enough. These advanced checks help isolate the real problem.
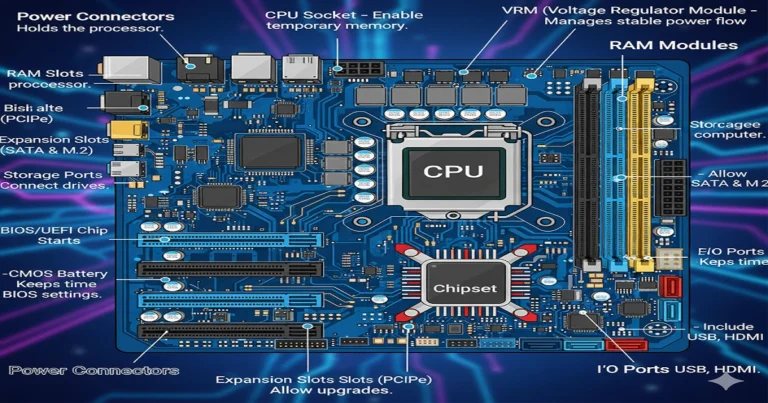
Check CPU Socket and Bent Pins
- Bent CPU pins can prevent memory from working.
- Carefully remove the CPU cooler and inspect the socket.
- Straighten pins only if experienced, otherwise seek professional help.
🏠 Like checking the main water pipe in your house — one bent valve can block the entire flow.
Test PSU and Power Connectors
- Yellow light may appear if RAM isn’t receiving enough power.
- Use a multimeter or known-good PSU to test voltage.
- Ensure both 24-pin motherboard and 8-pin CPU power are fully connected.
Trying Different RAM Slots
- Motherboards sometimes disable certain slots if others fail.
- Move the RAM stick to another slot to test functionality.
- Helps identify whether the slot or the module is faulty.
When to Suspect Motherboard or CPU Failure
- If the yellow light persists after:
- Reseating RAM
- Testing one stick at a time
- BIOS reset
- PSU check
- Then the issue may be motherboard hardware or CPU memory controller failure.
- Replacement might be the only solution.
Preventing Yellow Light Issues in the Future
Prevention is easier than troubleshooting. Follow these tips:
Proper RAM Installation Habits
- Always click RAM sticks fully into place.
- Avoid mixing brands, generations, or incompatible modules.
BIOS Compatibility Checks Before Builds
- Check your motherboard’s QVL (Qualified Vendor List) for RAM compatibility.
- Update BIOS before installing new memory to ensure detection.
Surge Protection and Proper Power
- Use a quality PSU that can handle your PC load.
- Consider a surge protector or UPS to prevent voltage spikes.
FAQs About Yellow Light on Motherboard
Does yellow light mean dead motherboard?
- Not always. It usually signals a RAM or minor hardware issue, not a total failure.
Why does yellow light stay on even after reboots?
- Could be improper seating, BIOS, or PSU issues. Step-by-step fixes usually resolve it.
Can PSU cause yellow DRAM light?
- Yes, insufficient or unstable power can trigger yellow LEDs.
What to do when there is no display but lights are on?
- Check RAM, reseat GPU if applicable, reset BIOS, and test PSU.
Conclusion
The yellow light on your motherboard is a warning signal — most often related to RAM or minor hardware issues. With careful troubleshooting, you can usually fix it without replacing the motherboard.
Summary of Fixes
- Reseat RAM sticks – ensure full connection.
- Test one RAM stick at a time – isolate faulty modules.
- Clear CMOS / reset BIOS – revert settings to default.
- Update BIOS – ensure compatibility with your memory.
- Check PSU and power connectors – make sure all cables are connected properly.
- Advanced checks – inspect CPU pins, try different RAM slots, consider motherboard replacement if necessary.
Final Advice for Beginners
- Start simple: RAM → PSU → BIOS → motherboard.
- Document each step so you can backtrack if needed.
- Use proper tools and handle components carefully to avoid static damage.
- Prevent future issues with compatible RAM, proper BIOS, and surge protection.